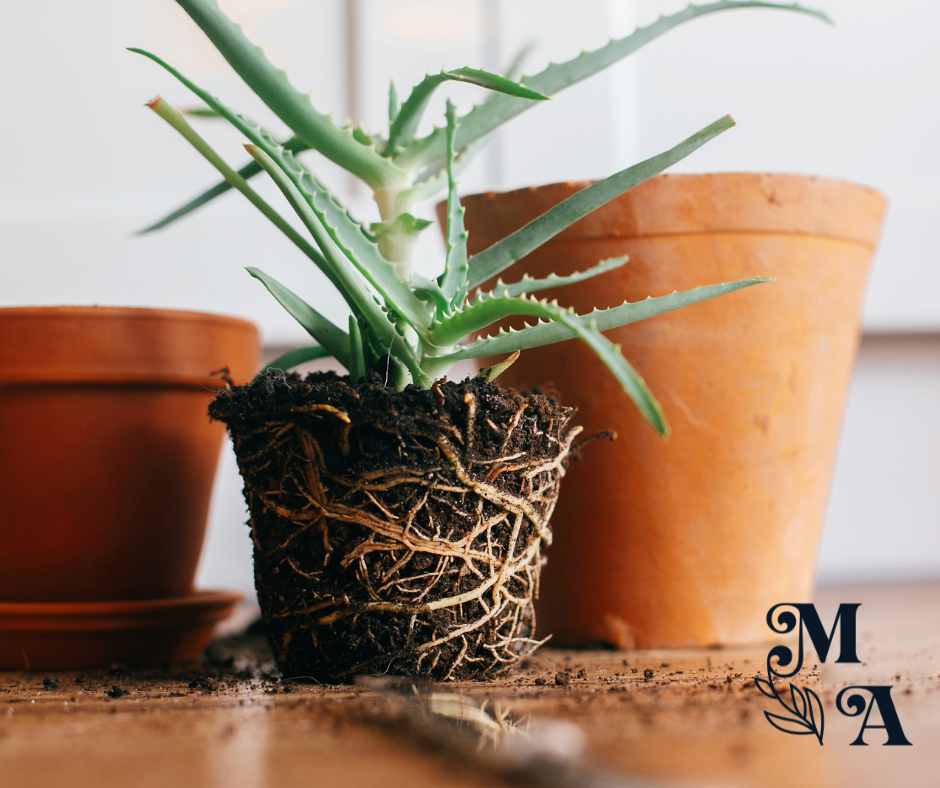
How to repot one or more indoor plants? For dummies and the best
Spring is just around the corner and so is the heat of summer. That means it's time to start feeding our indoor plants seaweed again and think about my favorite time of year (drum roll rapata pata pata) repotting season (fireworks!).
Why is it so important to repot indoor plants?
Throughout the year, the roots of your houseplant will draw the vast majority of mineral salts and nutrients from the soil (like EVERYTHING!). Therefore, it is important to replace their soil to provide them with a delicious new supply of nutrients. In addition, your green baby's roots will need space to develop further and grow.
In short, it is important to repot your plants once a year to stimulate their growth.
NB Potos and philodendron like to be "stuck in bread" in their container. So, you can wait 2 years before repotting this type of plant.
Here's how to repot one or more indoor plants in 5 steps bébé-fafa.
Step 1. Find the right container.
Take a container WITH A HOLE (and a plate) 1 inch to 1 inch and a half larger than your current container. Why not 1 inch to 1 inch and a half larger than its current home? Well, because if the container is too big, the plant will deploy all of its energy to inhabit the container with its roots. Which will have the effect of having a beautiful, naked plant in a large pot (it's ugly!). It will not really grow , since it will be busy fitting out the basement, redecorating and finishing the bathroom downstairs. In short, it will not work on creating new leaves, new stems or new flowers. I am really into terra cotta. In fact, if terracotta were a man, there is a very good chance that I would be married to a sweet, dark-skinned, strong man and probably with a nice southern accent... In short, terracotta is life; it breathes, it's beautiful and often these pots have a nice big irrigation hole full sexy. By the way, when the terracotta turns white it is not rot, but rather mineral salts that get stuck through the porosity of the container.
If you are still stubborn about using your beautiful container, which is actually a CACTUS POT, but which does not have a hole, you can put 3 to 4 cm of gravel or clay beads in order to create an irrigation effect... On the other hand, personally, I find that it does a " somewhat average " job... like when you hide your dirty laundry in the closet when your date visits.
Step 2. Find the right soil.
Forget about the Dollorama soil right away...it is of very poor quality (like their kitchen accessories) and is therefore very poor in nutrients. My favorite soil is Promix.
For cacti and succulents you should use cactus and succulent soil (surprise!) that has sand in it which will reproduce the natural environment of this type of plant. You can also mix a ratio of 2/3 sand to 1/3 Promix to obtain this type of substrate.
For orchids, you will need orchid potting soil (wood chips).
Step 3. Find the right place to mess things up.

Let's face it, repotting is a real pain! I advise you to do it all outside, in your garden, to avoid collecting dirt and sand in the kitchen for a year (Merry Christmas!). That or in the bath, but be sure to plug the hole in your bathtub with a rag before you start so as not to clog the pipes with black earth.
Black soil in the pipes is really, really shit and it risks upsetting your landlord, your father, your boyfriend or your girlfriend...
Step 4. Repotting
- Soak your terracotta containers for 30 minutes so that they are properly soaked in lukewarm water.
- Gently and lovingly remove the plant from its old home. When there is a hole this is easy, as you can push with a finger from underneath. Otherwise you can use a butter knife to gently pry the plant, soil and roots from the original container.
- Remove as much soil as possible between the roots, gently using your fingers. Unfortunately, this soil cannot be reused. You can simply put it back outside in your flowerbeds or on the lawn.
- Moisten the new soil to obtain a balanced texture, not too wet and not too dry either (yeah…I don’t really know what else to say to guide you here…let your heart speak…).
- If you have chosen a mautadine of a cache-pot, put some clay beads, rocks or pieces of an old terracotta pot that you accidentally dropped on the ground one day.
- Put one or two cm of soil on top.
- Place the plant gently and hopefully.
- Fill the pot with soil up to the collar of the plant. (see image)
- Ideally leave 1 or 2 cm between the edge of the pot and the soil (to leave room for watering).
- Water everything abundantly.
- Let everything drain so as not to damage your beautiful wooden furniture (I put trivets underneath, because I have scrapped far too much furniture to date).
- Admire your plant which is really too happy to be content in its new terracotta home.
And there you have it! Now you just have to watch over the good health of your plant, make sure that you give it good seaweed fertilizer (spring and summer) and enough water!
Kiss kiss
Mrs. Alice, florist, bioecology technician, fan of terracotta and Promix. Amen.
